Before installing the app, make sure you have the following:
- Click the installation link provided, or install the app directly from the HubSpot Marketplace once it is available. Search for Phone Validator and click Install app.
- HubSpot will prompt you to choose the account you want to connect Phone Validator to. Select your account and click Choose Account.
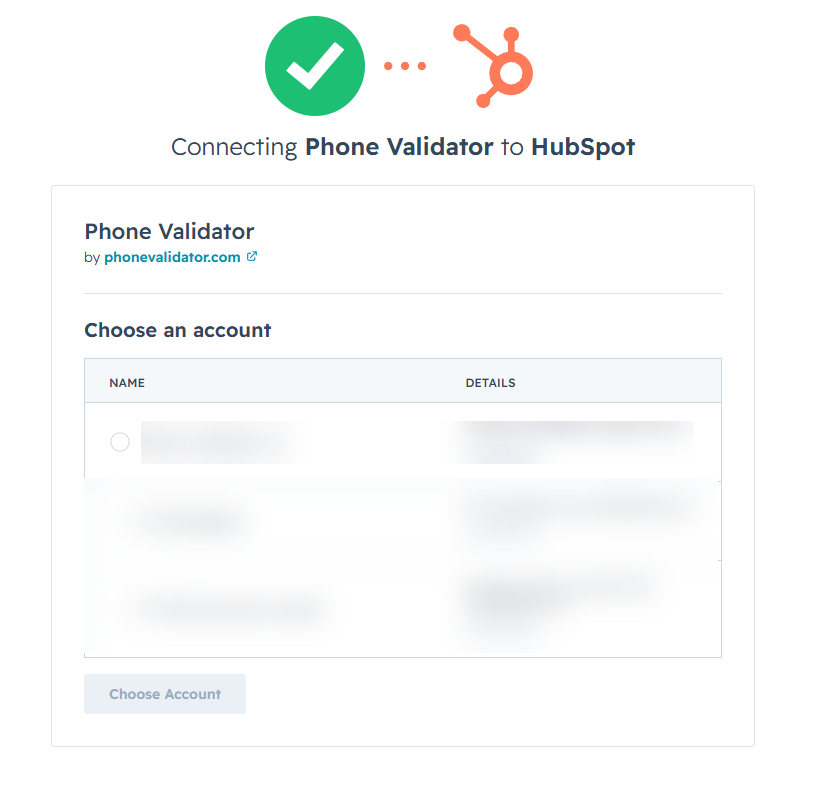
Select the HubSpot account you want to connect and click Choose Account.
- HubSpot will display a permissions screen listing the data the app requires access to. Review the permissions and click Connect app to authorize.
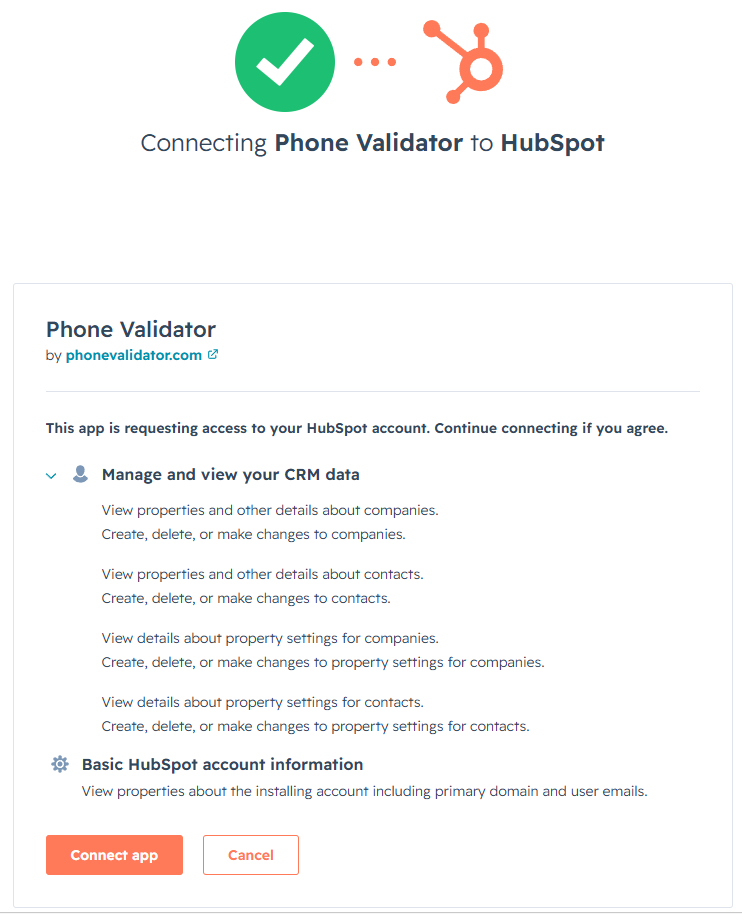
Review the requested permissions and click Connect app to continue.
- After authorizing, you will be redirected to phonevalidator.com with a prompt to log in to complete the integration. Click the here link to proceed to the login page.
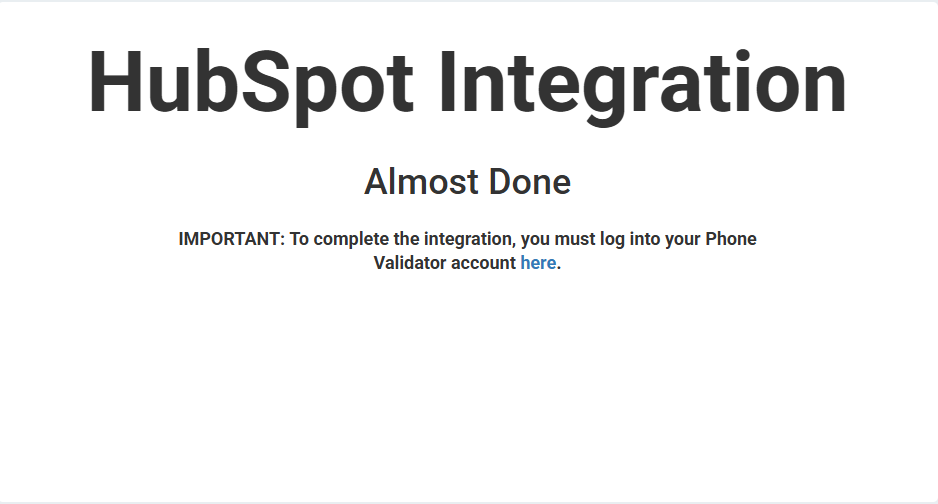
Click the link to log in to your phonevalidator.com account and complete the integration.
- Log in with your phonevalidator.com credentials to link your account with the HubSpot integration.
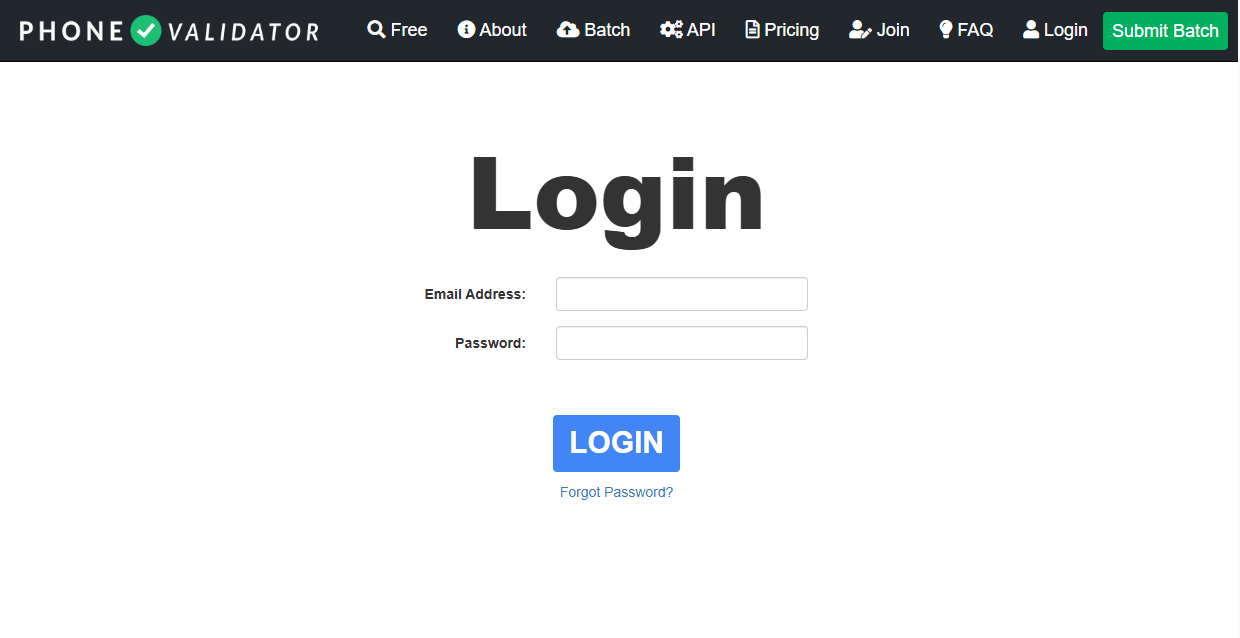
Enter your phonevalidator.com email address and password and click Login.
- Once logged in successfully, a confirmation screen will appear. Click Click here to return to your HubSpot account. Installation is complete.
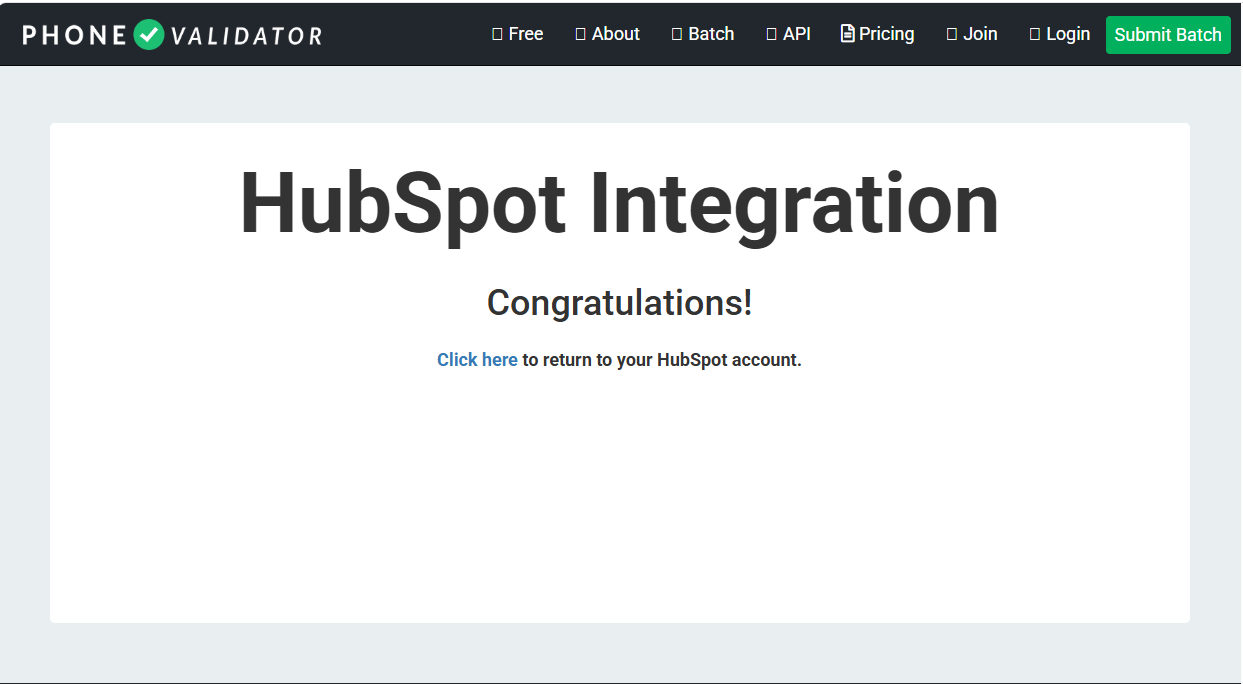
Your Phone Validator account is now linked to HubSpot. Click the link to return to HubSpot.
Phone Validator uses HubSpot webhooks to detect when a phone number is added or changed on a Contact or Company record. Validation runs automatically — no manual steps are required after setup.
- A phone number is entered or updated on a Contact (Phone, Mobile Phone, or WhatsApp Phone field) or Company (Phone field) record in HubSpot.
- HubSpot fires a webhook to Phone Validator, which validates the number in real time against the phonevalidator.com service.
- Validation results are written back to the HubSpot record within seconds as custom property values.
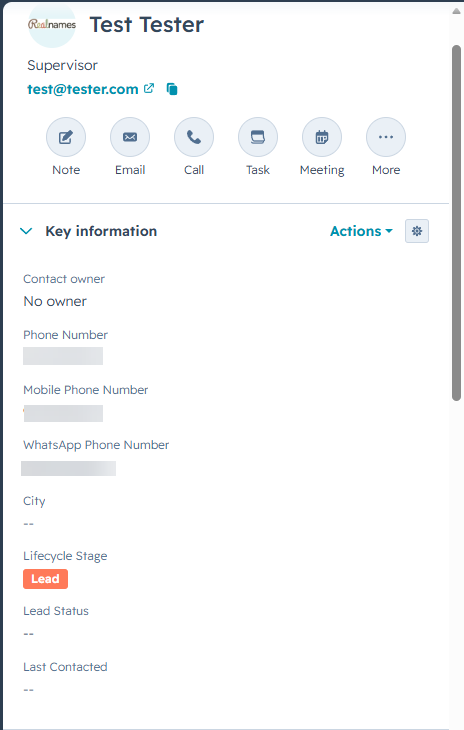
Phone Validator monitors the Phone, Mobile Phone, and WhatsApp Phone fields on Contact records, and the Phone field on Company records.
The app writes the following data to your HubSpot records after each validation:
| Property Label | Description |
|---|---|
| Phone Number Results | The phone number that was validated |
| Phone Line Type | Line type: Cell, Landline, VOIP, Toll-Free, or Fake |
| Phone Company | Current service provider (e.g. Verizon, AT&T, T-Mobile) |
| Phone Location | Location associated with the number |
| Phone Country | Country name the number belongs to |
| Phone Country Code | Country code the number belongs to |
| Phone Outside US | Indicator if phone number is outside the US |
| Phone Fake Reason | If Phone Line Type is Fake then reason it is fake |
| Property Label | Description |
|---|---|
| Phone Number Results | The phone number that was validated |
| Phone Line Type | Line type: Cell, Landline, VOIP, Toll-Free, or Fake |
| Phone Company | Current service provider (e.g. Verizon, AT&T, T-Mobile) |
| Phone Location | Location associated with the number |
| Phone Country | Country name the number belongs to |
| Phone Country Code | Country code the number belongs to |
| Phone Outside US | Indicator if phone number is outside the US |
| Phone Fake Reason | If Phone Line Type is Fake then reason it is fake |
| Property Label | Description |
|---|---|
| Phone Number Results | The phone number that was validated |
| Phone Line Type | Line type: Cell, Landline, VOIP, Toll-Free, or Fake |
| Phone Company | Current service provider (e.g. Verizon, AT&T, T-Mobile) |
| Phone Location | Location associated with the number |
| Phone Country | Country name the number belongs to |
| Phone Country Code | Country code the number belongs to |
| Phone Outside US | Indicator if phone number is outside the US |
| Phone Fake Reason | If Phone Line Type is Fake then reason it is fake |
| Property Label | Description |
|---|---|
| Phone Number Results | The phone number that was validated |
| Phone Line Type | Line type: Cell, Landline, VOIP, Toll-Free, or Fake |
| Phone Company | Current service provider (e.g. Verizon, AT&T, T-Mobile) |
| Phone Location | Location associated with the number |
| Phone Country | Country name the number belongs to |
| Phone Country Code | Country code the number belongs to |
| Phone Outside US | Indicator if phone number is outside the US |
| Phone Fake Reason | If Phone Line Type is Fake then reason it is fake |
Validation results are written directly to custom property groups on the Contact or Company record in HubSpot. You can view them in the record's property panel under the Phone Validator property groups.
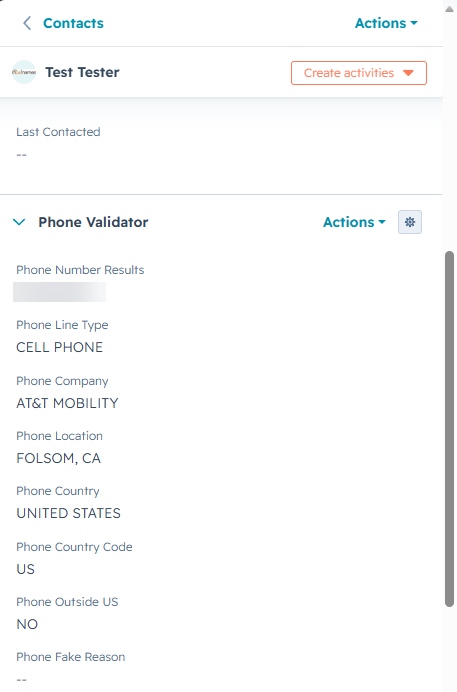
Phone number results on a Contact record.
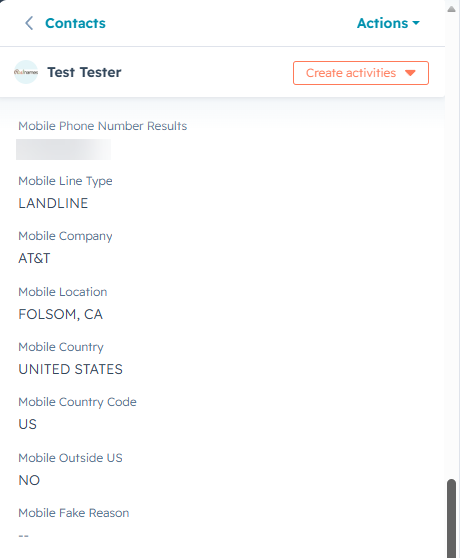
Mobile phone results on a Contact record.
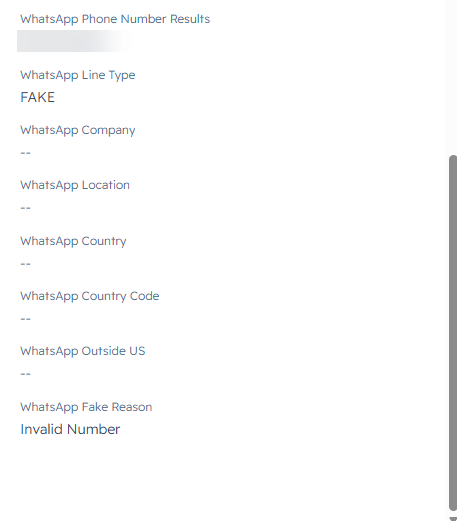
WhatsApp phone results on a Contact record.
After installation, you can configure the app's behavior from within HubSpot. Navigate to Settings → Connected Apps → Phone Validator → General Settings.
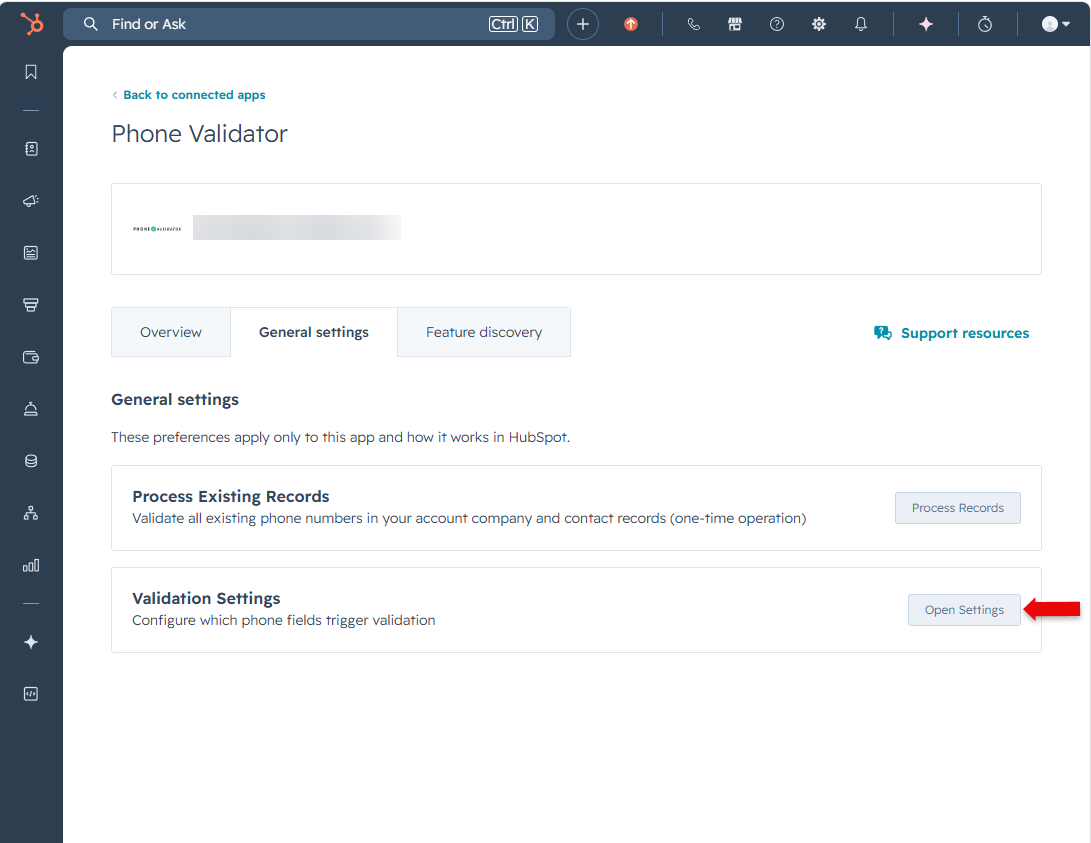
Access Process Existing Records and Validation Settings from the Phone Validator General Settings page.
Click Open Settings to control whether the app is active and which phone fields trigger validation:
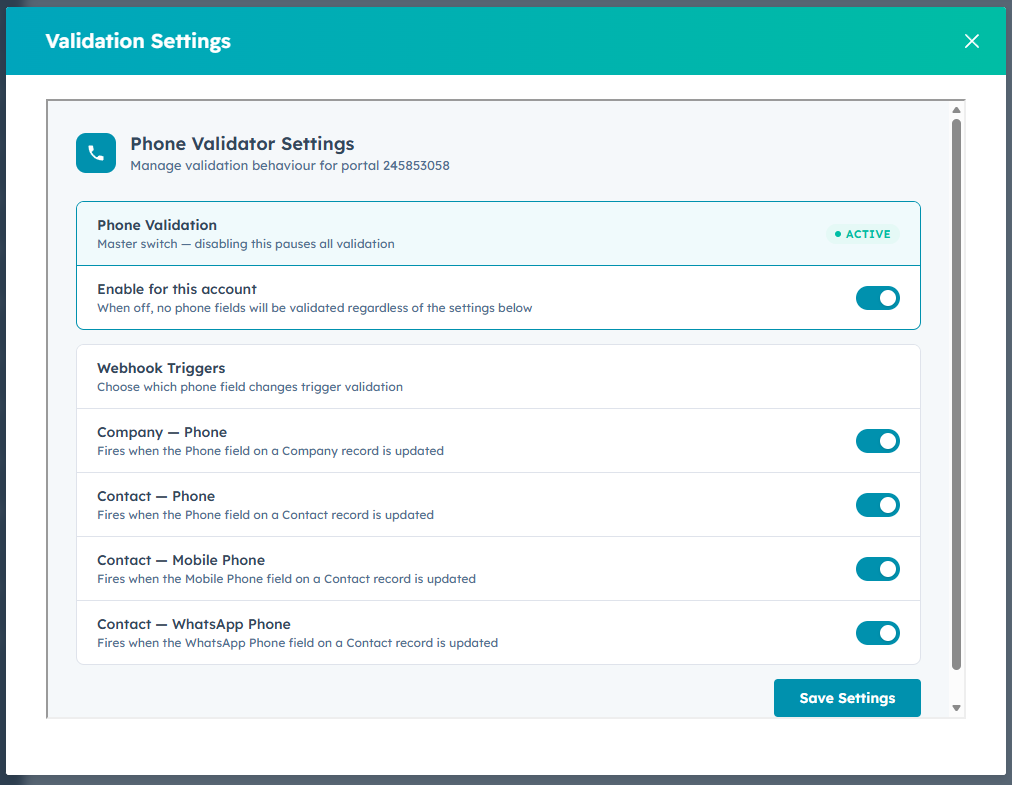
Use Validation Settings to control the master switch and individual phone field triggers.
Click Process Records to validate all existing Contact and Company records that have not yet been validated. This is useful when you first install the app and want to validate your existing phone data.
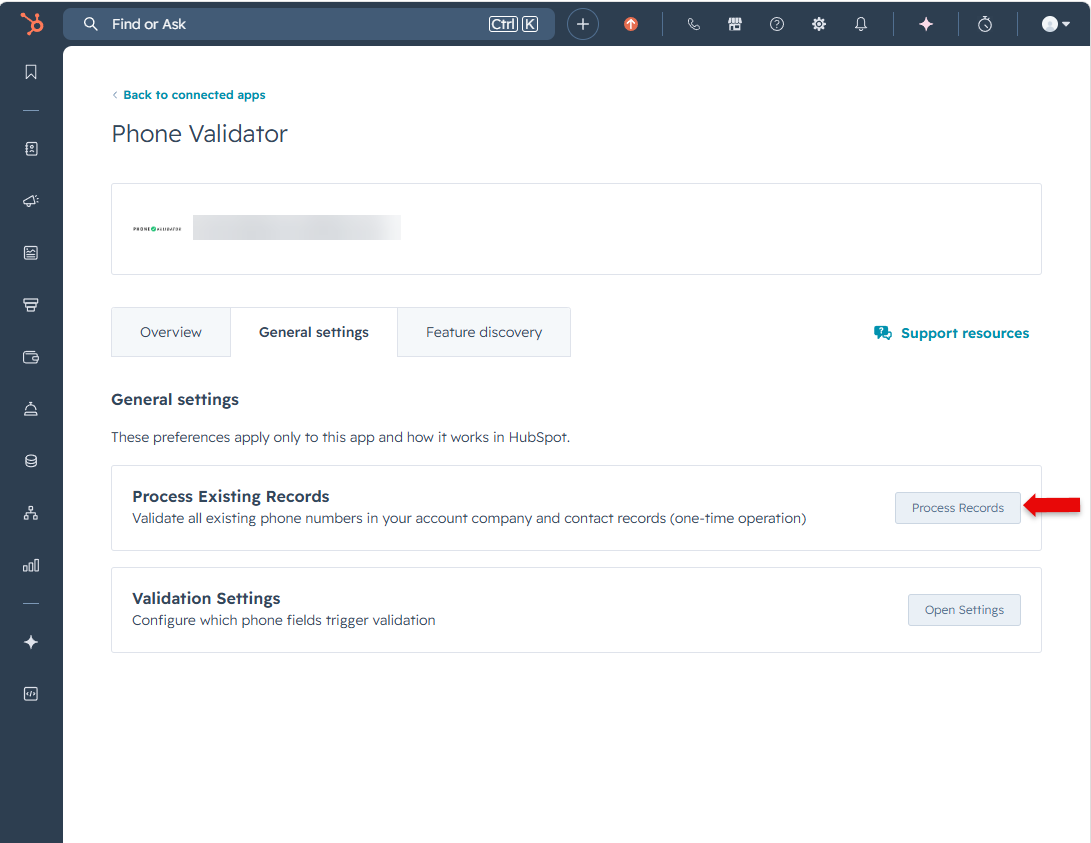
Click Process Records to begin bulk validation of your existing Contact and Company records.
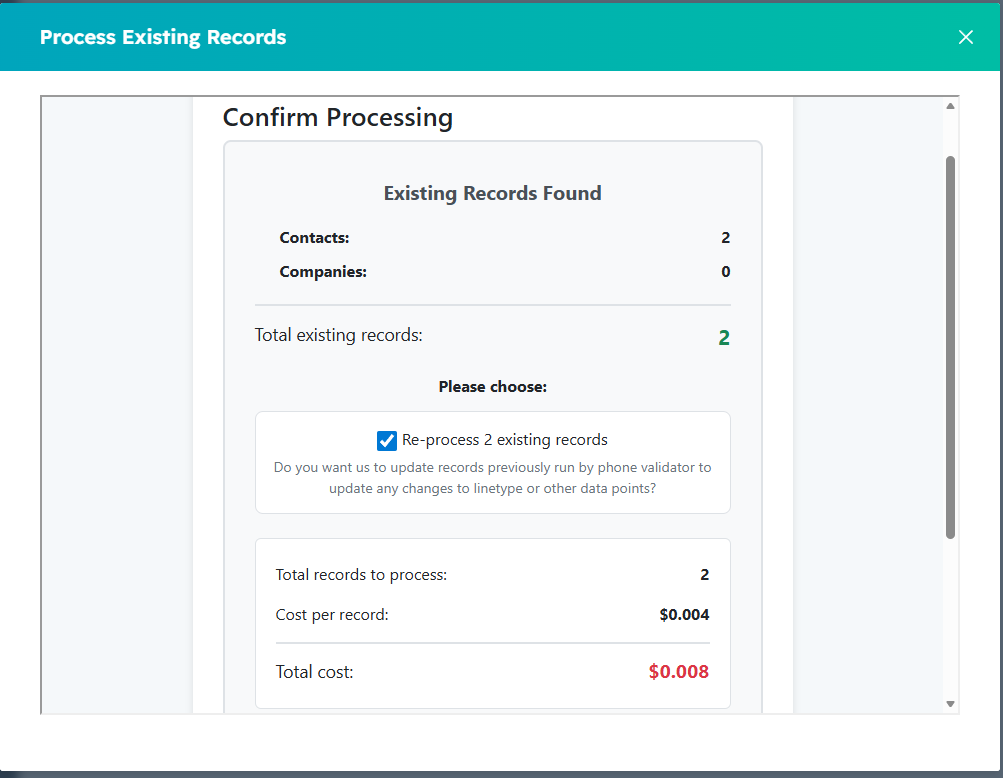
Review the record count and estimated cost before confirming bulk validation.
Phone Validator uses a pay-per-validation credit system. Each phone number validated consumes one credit from your phonevalidator.com account.
To manage your credit balance, log in to phonevalidator.com and click your name in the top navigation bar, then select My Account.
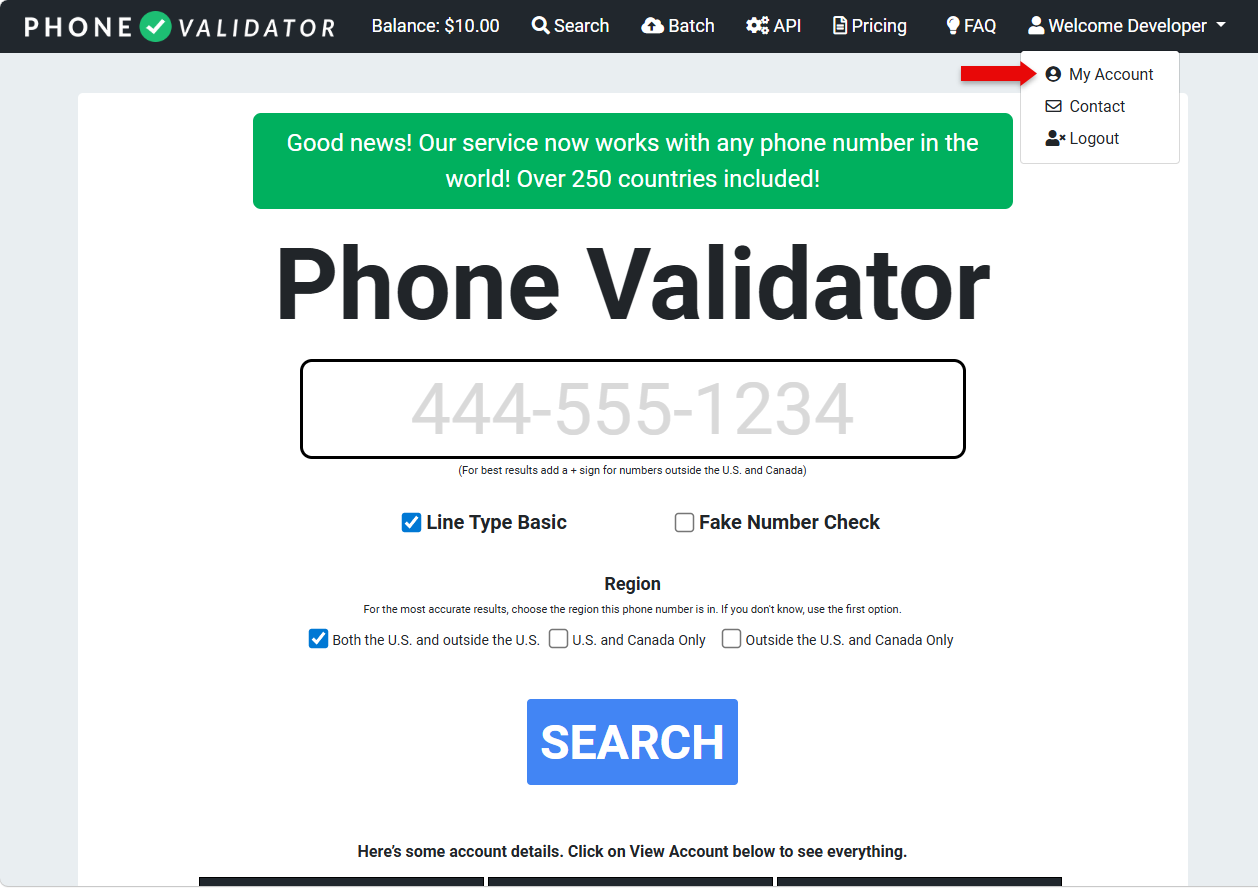
Click your name in the top navigation bar and select My Account.
On the Account Details page you can view your current balance and click Add Funds to purchase additional credits or set up automatic billing.
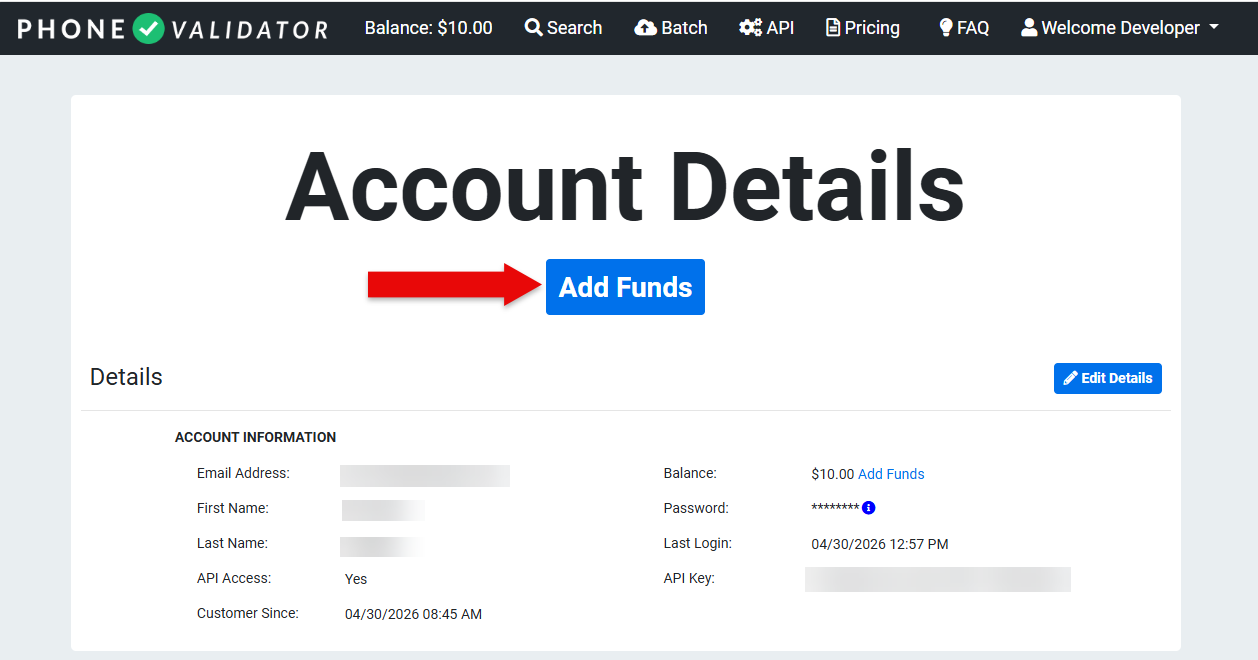
Click Add Funds to purchase credits or configure automatic billing to keep your balance replenished.
Ready to get started? Create a free account today.
GET STARTED!